YOLO refers to the paper published in May 2016. The YOLOv5, a version of the model in the You Only Look Once (YOLO) family of computer vision models, is on Pytorch and all the previous models used the darknet implementation. Our goal is to use the YOLO for logo detection, even though there’s still some debate around the usability of YOLOv5 vs v4.
We’ve created a step-by-step guide to run YOLOv5 for effective logo detection. The source code is available at GitHub. You can clone it from here.
Guide to Running YOLOv5
First of all, you must check which Cuda version is installed in your machine by using:“nvcc –version”
It is important to note that we need Cuda version 10.
1. Create an environment
Let’s create an environment to install all the requirements. If you do not have a virtual environment installed, please follow this link.
We create the yolov5env: “python3 -m venv yolov5env”.
To activate this environment: “source yolov5env/bin/activate”
To install the requirements mentioned in the GitHub: “pip install -U -r requirements.txt”
In case of any error for the requirements, you can install NumPy separately.
2. Preparing the custom dataset
It is essential to follow the structure of the data. Create an image and label folder containing the train, validation, and test data.
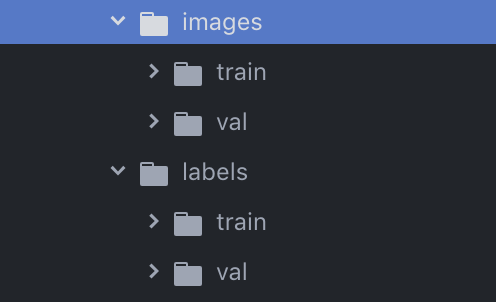
The labels contain the text file of the class of the object and the location of the anchor box.

Two files need to be modified for your data:
- data.yaml
- model/yolov5s_customize.yaml
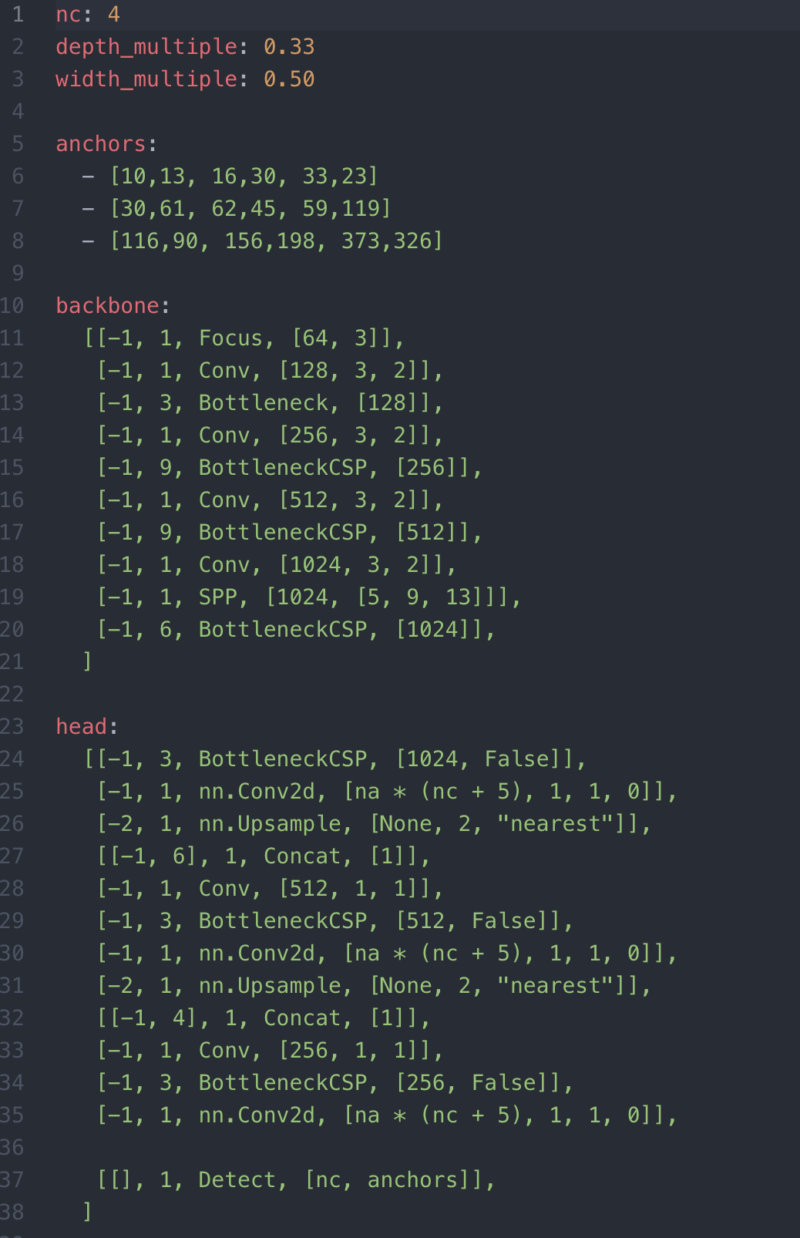
The data.yaml contains the training and validation path, number of the classes (nc) and the labels of classes. When you create your classes use the meaningful name which appears on your logo detection.

You can edit the structure of your network and also update the number of classes in your dataset at model/yolov5s_customize.yaml. you can select any other model by modifying the model and number of the classes (nc).
3. Training
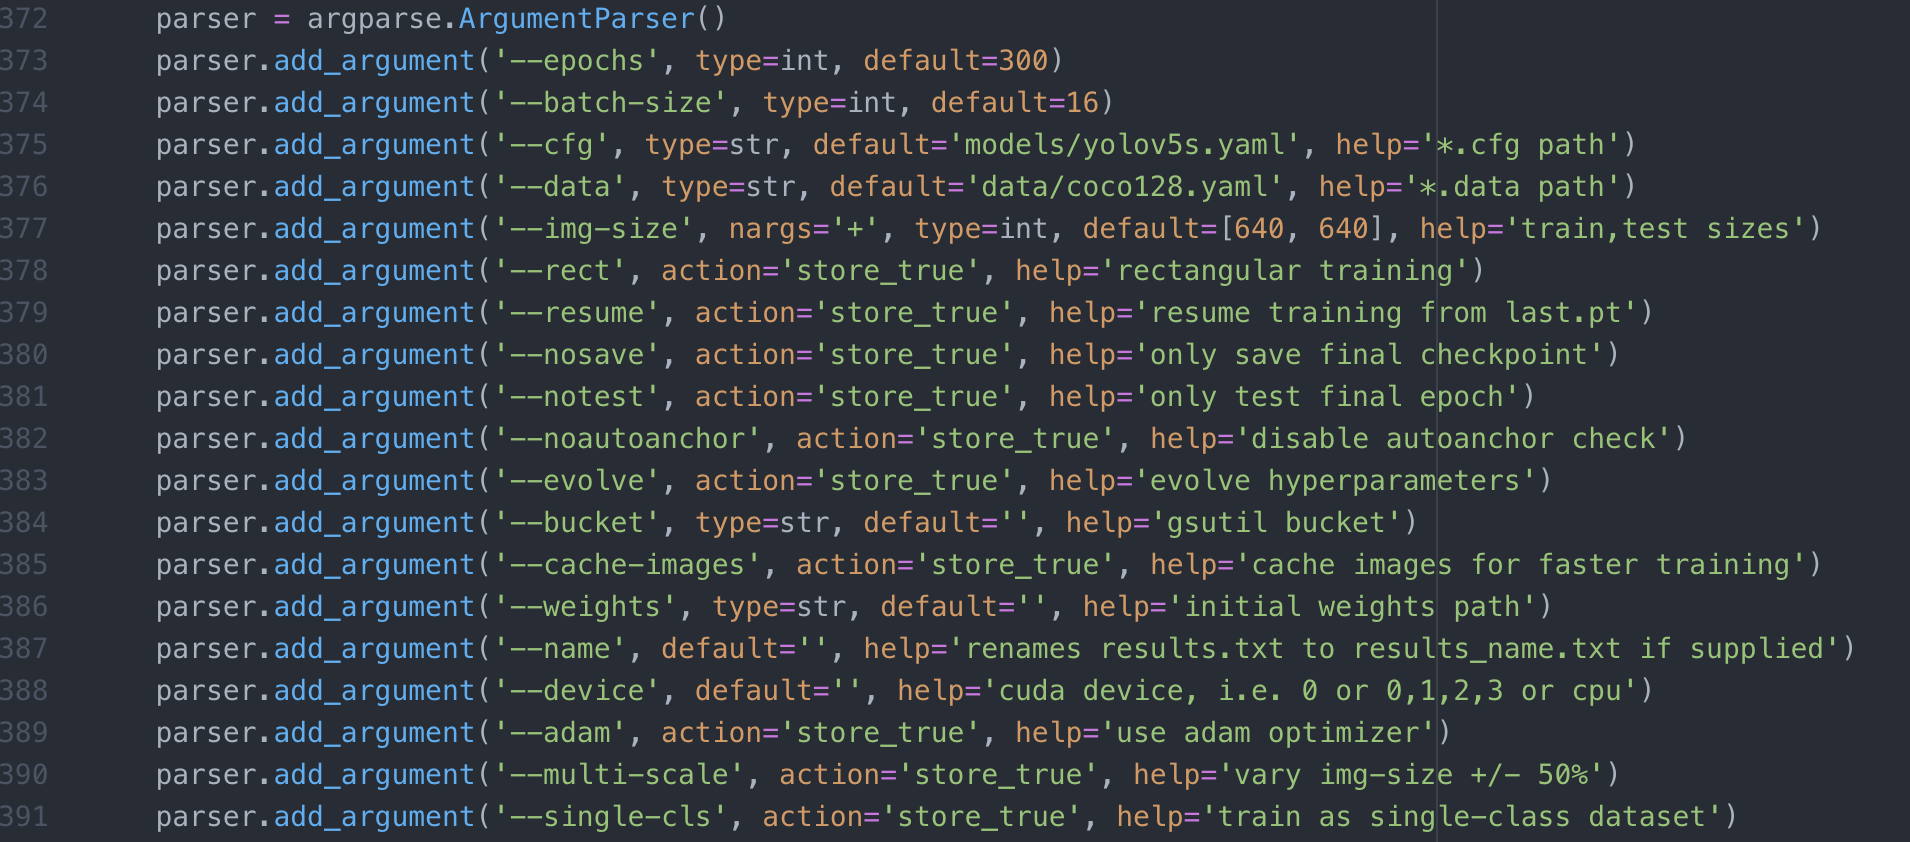
The next step in running a YOLOv5 for effective logo detection is training. For training the Yolov5 you need to change:
- The image size –img 416
- Batch size –batch 16
- Number of epochs 200
- Custom data –data “data.yaml”
- Config file –cfg ./models/ yolov5s_customize.yaml
We used cache-images to have a faster training.
The training results are saved in the results.txt and result.png, here you can see the result for our dataset using pre-trained weights for 200 epochs.
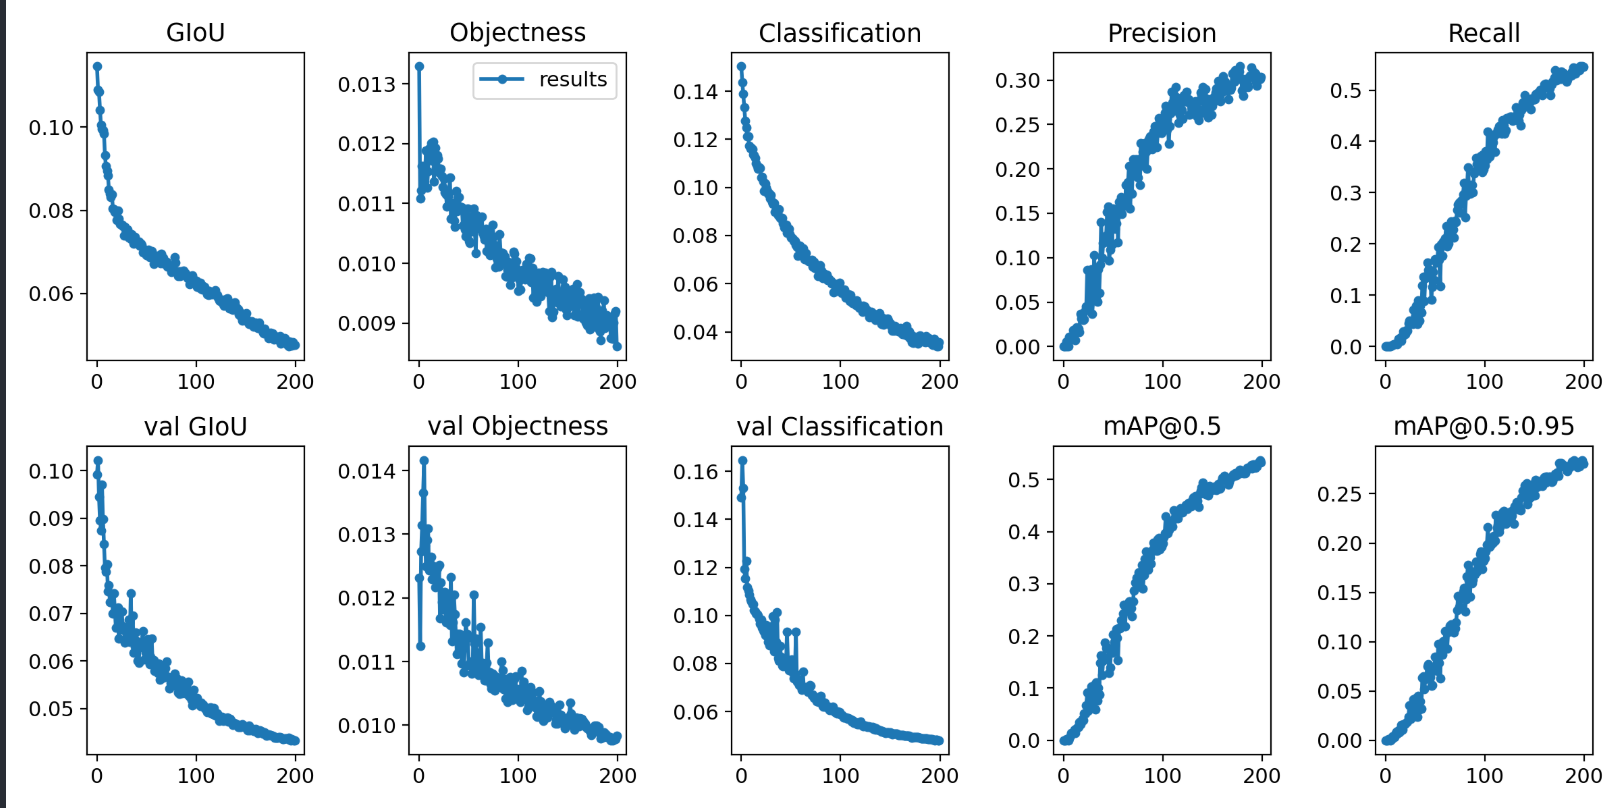
Here is an example of the training results:
4. Testing
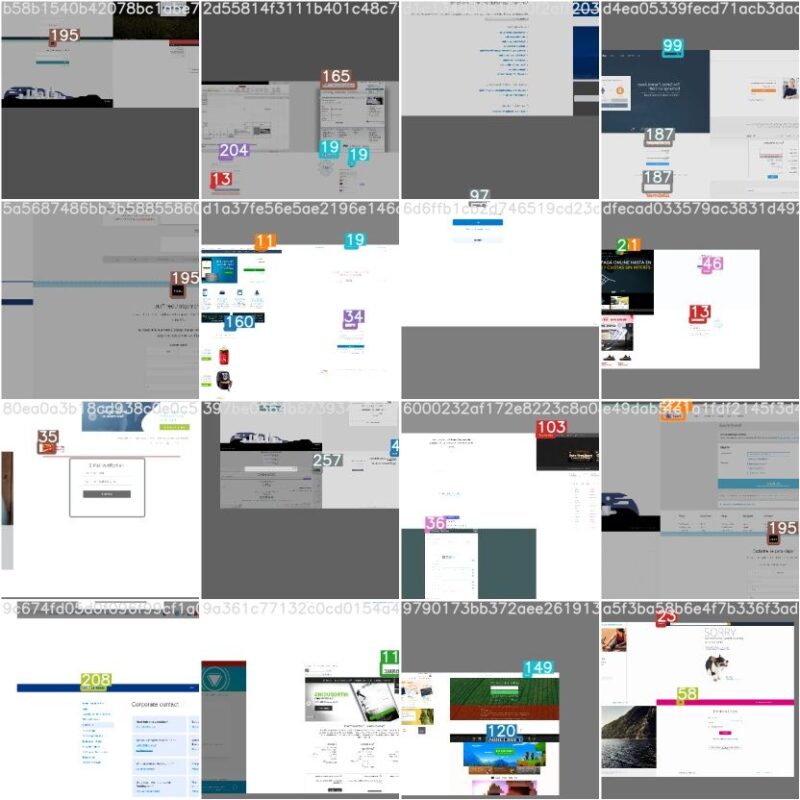
Next, we need the the test data directory as the source. The output will be in the inference folder: python detect.py –img-size 416 –source ../../data/data_png/data_code/images/test/ –weights weights/best.pt –conf 0.4 –save-txt

All the text files are saved in the inference/output.
Here are some of the results on our dataset for logo-detection:

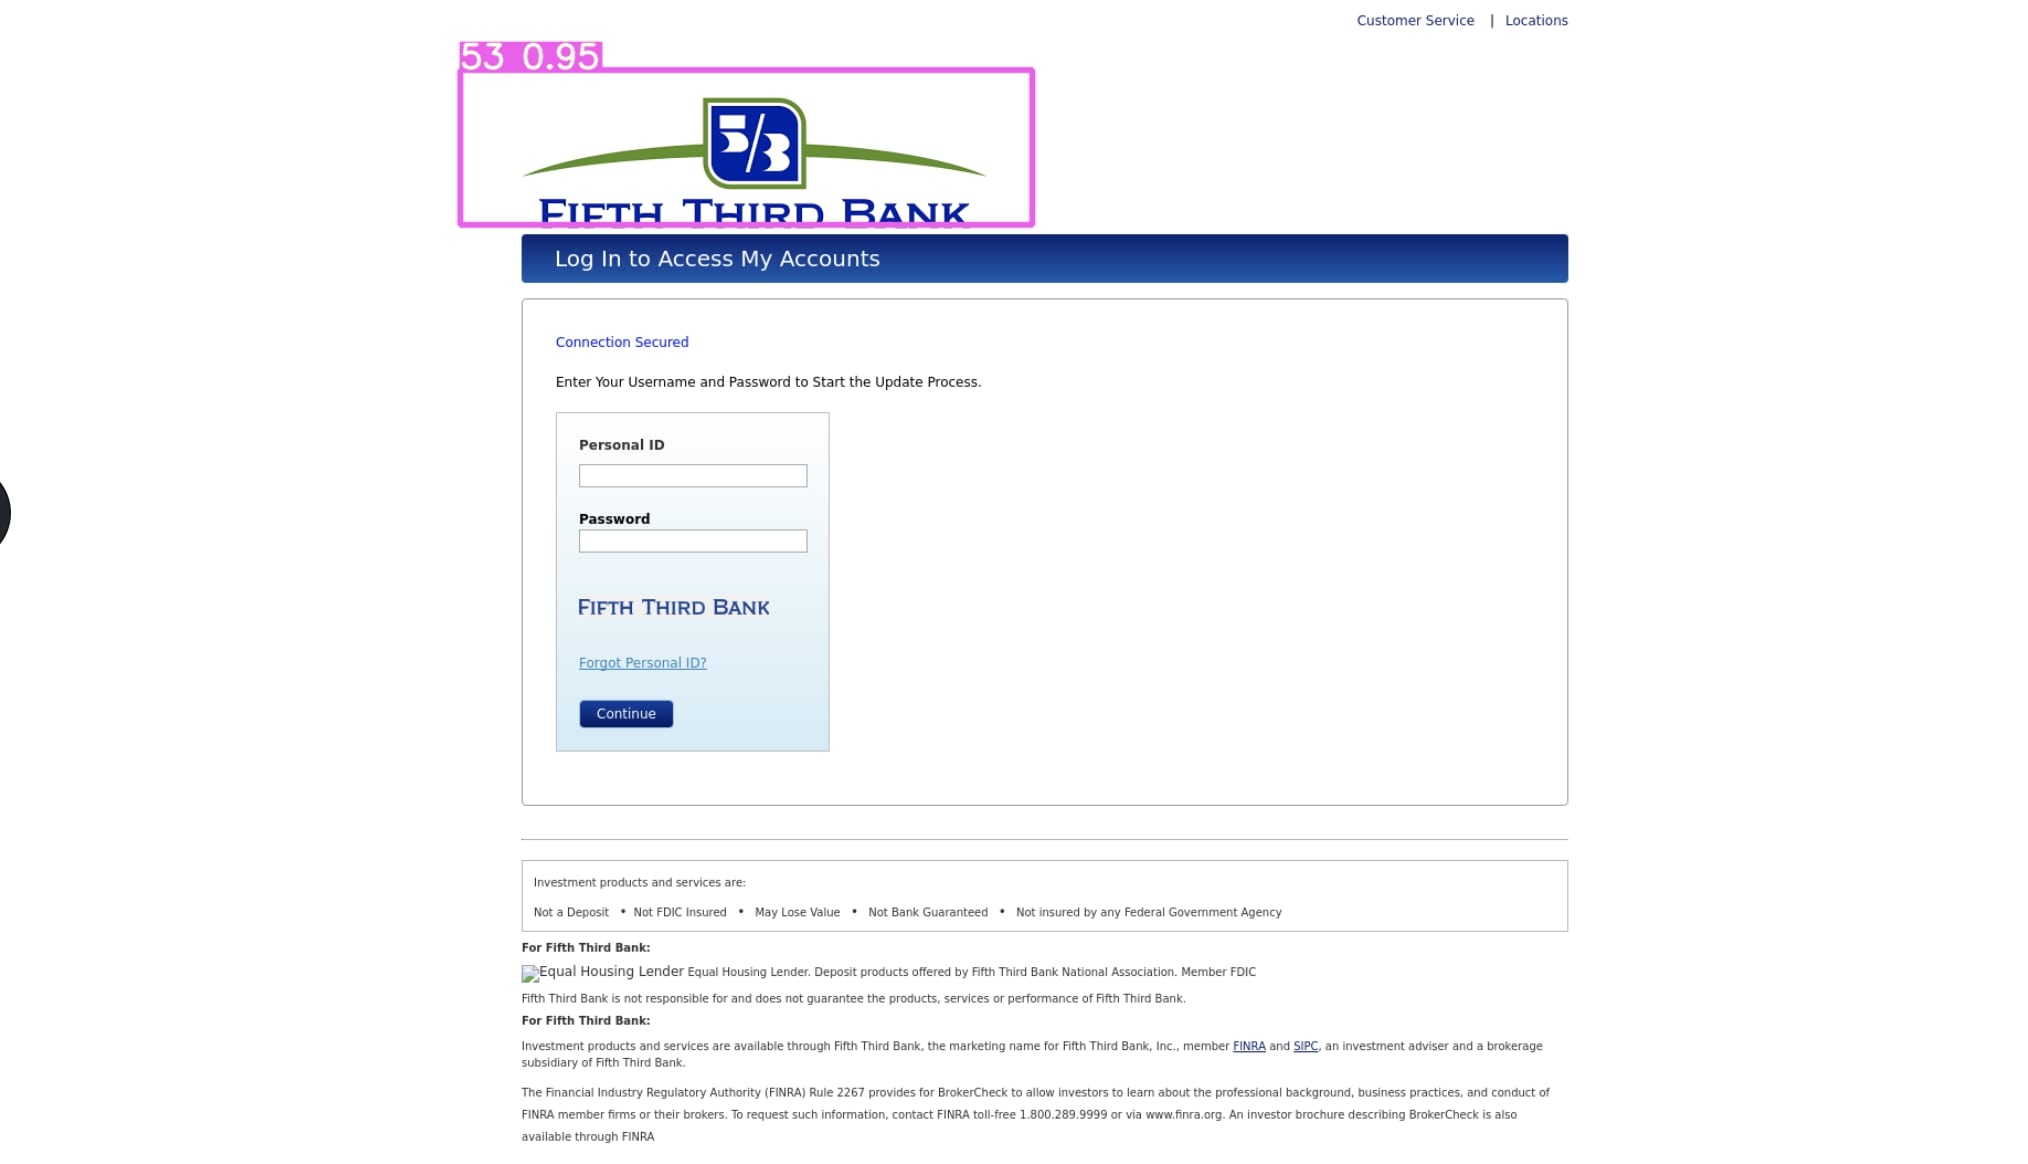


The Importance of Logo Detection: Having the Right Tools
We’ve broken down the backend steps to using YOLOv5 for logo detection to protect your brand, but there are other effective ways your business canna defend against misuses of your brand across the internet. Using automated digital risk technology to actively scan against threats across the web, your team can confidently manage risks without breaking the bank.
Bolster’s brand protection technology integrates seamlessly with cyber risk programs of any size, and will automatically scan the internet daily to search for typosquat domains and instances of brand misusage. If logo detection misusage is detected, Bolster will automatically takedown the threat, without requiring effort and time of your already busy cyber risk team.
Learn more about Bolster’s logo detection technology, and request a demo today.
